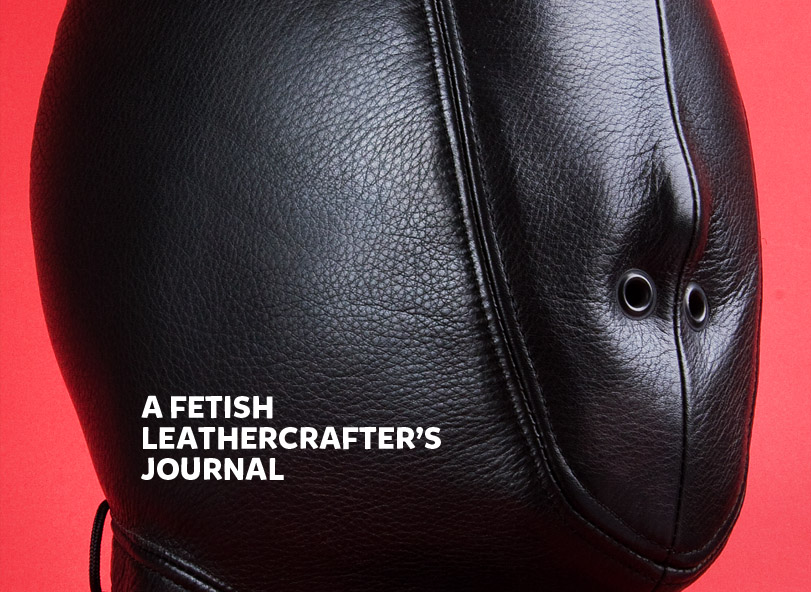
Anyway, for this hood project, I wanted to share my methods and techniques with you so I shot pictures as I went along detailing the process.
It all starts out with a design drawing which shows all the elements of the project. In this case, it was to be a hood with a focus on sensory deprivation. This is for the same client for whom I made the sleepsack a few weeks ago in purple leather. Fortunately I had enough leather left over to create the hood. The design incorporates foam padding over the ears to help muffle outside sound. It closes with a laced-up rear and is to include a D-ring at the top.

Once the design is finalized you have to make a pattern. I have stock patterns I have developed over the years which I use a a base for the design, plugging in the client's measurements. Each pattern becomes unique and will (hopefully) turn out to be a perfect fit. I usually can get close with three measurements: around the forehead, chin to crown, and neck. You can see these 3 lines sketched onto the pattern below:

The next step is to cut out the pattern...

...and place it onto the leather.

I use a light Berol Prismacolor colored pencil to transfer the pattern onto dark leathers.

Rough cut the shapes...

...then finish cut, so the seam allowance is even all around. Leather is expensive raw material, so you often have to crowd pieces together which may leave you with variable amounts of seam allowance, but for sewing curves especially, it helps to have the seam allowance as even and consistent as possible. It definitely gives you a more professional look.

The next step on this project was to create a pattern for the earpad covers inside. I also marked how far down the pads should be from the top seam. Normally I would create the front and rear of a hood first, joining them together with the side seam. Because of these earpads, I had to sub assemble the sides first.

The leather ear covers, cut out...

...the foam inserts...

...and the roll of foam they came from (available at craft and fabric stores).

Tune in next time to see more progress on this project!

No comments:
Post a Comment