A collection of 13 tips and tricks I’ve found helpful around the workshop.
Another tip I found on leather craft forums is to use super glue to lock the thread ends in place - a technique that could be used for machine or hand stitching. You would just have to be very careful not to get any glue on the front side of the workpiece.
The main reason I purchased an anvil was to have a firm curved shape I could use to help shape and flatten the seam allowance on hoods - particularly around the nose and chin areas.
The horn on this 24lb. anvil is just the perfect shape for this type of work.
The face (the flat part on top) is also great for setting the stud and post (flat) side of your snaps. A useful thing to have for about $25! I got mine here.
I use double-sided tape to hold the zipper in position while sewing. If this was cloth, you could machine-baste but that doesn't work on leather - because it would leave holes behind. I used to use masking or blue painter’s tape for this, but have found the double-sided sewing tape works even better for a couple of reasons: It’s less wide than the other two, and easier to remove when you’re done sewing.
Make thread changes quick and easy:
I have to credit the technicians at Artisan who shared this tip with me. It saves a little bit of time each time I swap out thread colors.
Sometimes you want to strengthen an area, and there are different ways of approaching that depending on where you are working and the kind of seam you want to leave behind. Shown
below are four levels of reinforcement:
Everything starts out fine when you first open your new can of glue. It’s all smooth and just the right consistency - not too think, not too thin. It just flows out of the brush.
After a while, the glue in your pot will get thicker as the air inside takes up more space when you close the can, drying out over time. I try to keep this thickened (but still usable) glue for use on straps or thicker pieces, where the spread-ability isn’t an issue and application of the glue doesn’t have to be as precise.
You should also keep a couple of disposable brushes around for spreading glue - in 1 to 3-inch sizes. Even though this glue is supposed to be soap and water clean-up-able, I usually only get a few uses out of a brush before the glue dries in the brush and renders it unusable.
I came up with a simple way to help hold layers in alignment when setting rivets: just use nails! It really helps hold the layers in place, as they can shift around easily when handling the workpiece and placing it in the bench riveter.
Mark hole locations in both workpieces with a template.
Punch holes in both pieces.
Align pieces and insert nails in "unused" holes (the one that won't be receiving the rivet).
And hold everything together tightly while setting the rivet.
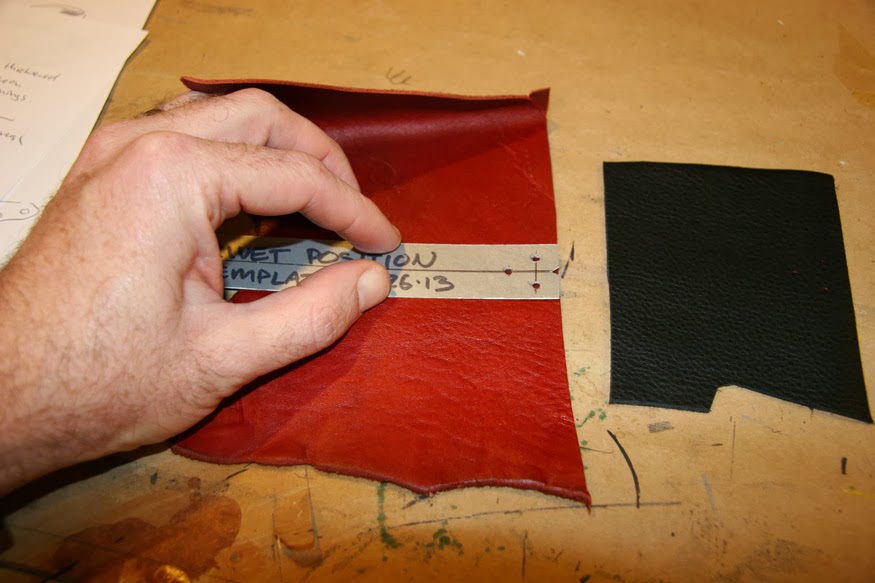
Make a clear envelope to hold your smaller templates and patterns.
This heavy clear vinyl is only $4.75 per yard at the fabric store. It's a great way to keep your small templates organized and easy to find.
I found these at the local art supply store for 95¢ each. They keep little parts organized and at hand while you’re working with them, and stack neatly when not in use. Great for 4-part snaps, and 2-part grommets - all those little parts that like to roll off the workbench. When you're done, it's easy enough to empty the parts back into their boxes for storage.
Use wine corks to protect your awl points!
I got the idea from watching the video of JnK making a camera case below: (Worth checking out for the precision craftsmanship!)
These are fun to make out of scrap veg-tan leather and are rather useful for quick reference. They can help you determine the right size hole punch, bag punch or grommet needed for a particular project. I usually punch at least one large hole so they can be hung up out of the way. This one came out nice:
In the case of the boot hooks below, you can have examples of the different types of finishes that are available on the hardware. Some of the different finishes can be kind of subtle.
A stitch-length sample can help as well, since at least on my machines the numbers don't seem to correspond to anything at all. The only truism is: larger number on the dial equals longer stitches, but after that, all bets are off. The only sure way to know how the stitch is going to look is to run a test.
Hope you found something useful here - these are little things that I use almost every day in the workshop! Until next time...