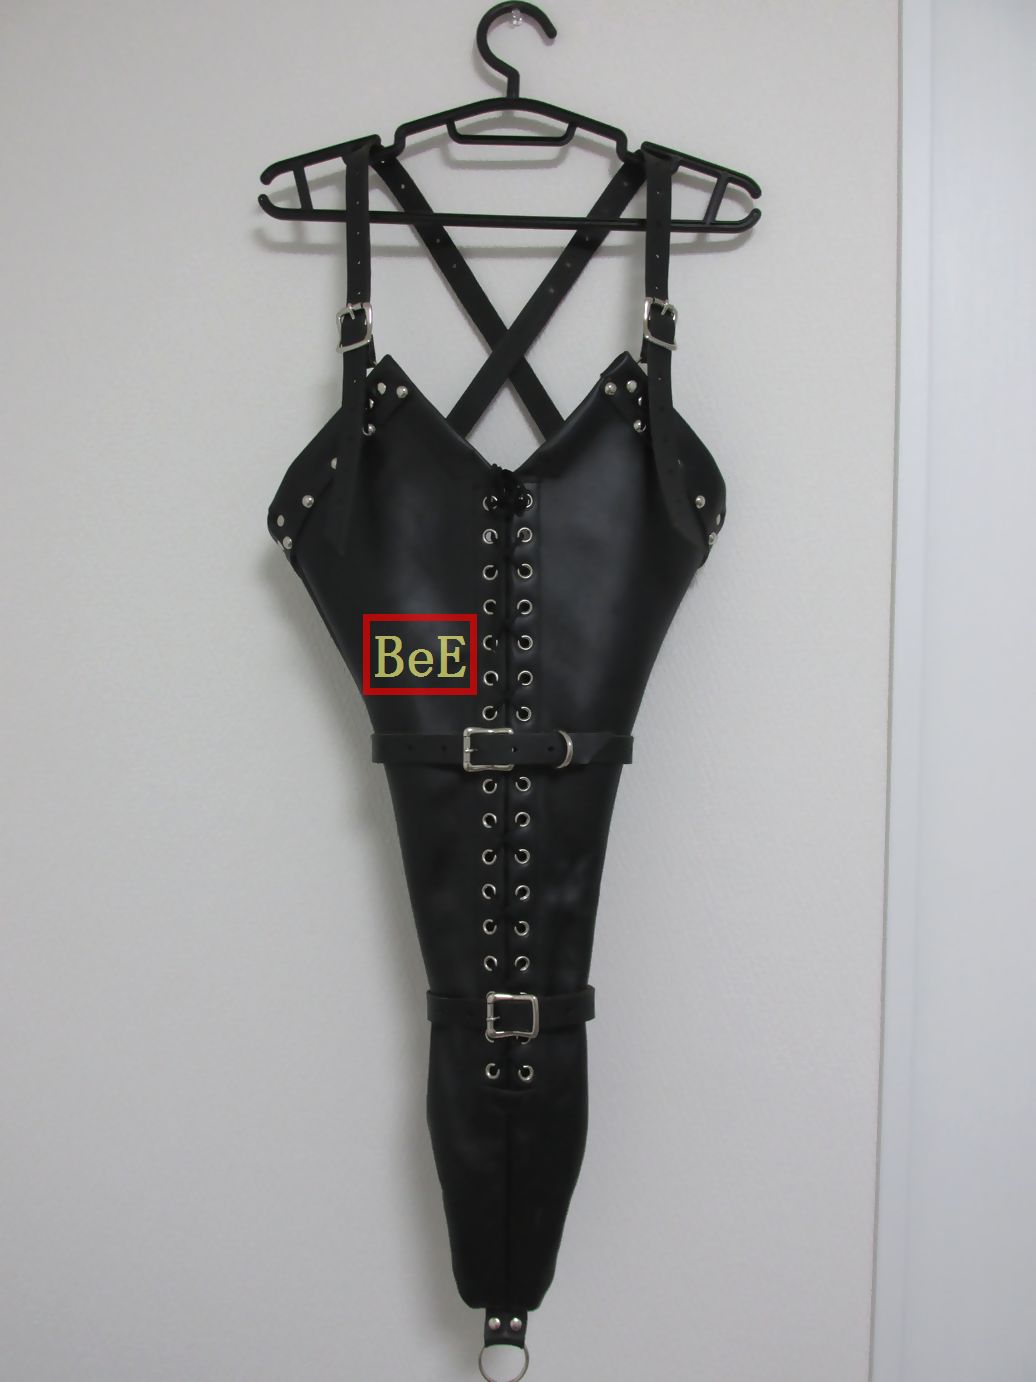
In response to a request, here's my process for making the locking posture collar with rolled edge.
I like this design because it fits a wide range of people really well, it isn't too hard to make, and can be produced in pretty much any color and type of leather you like.
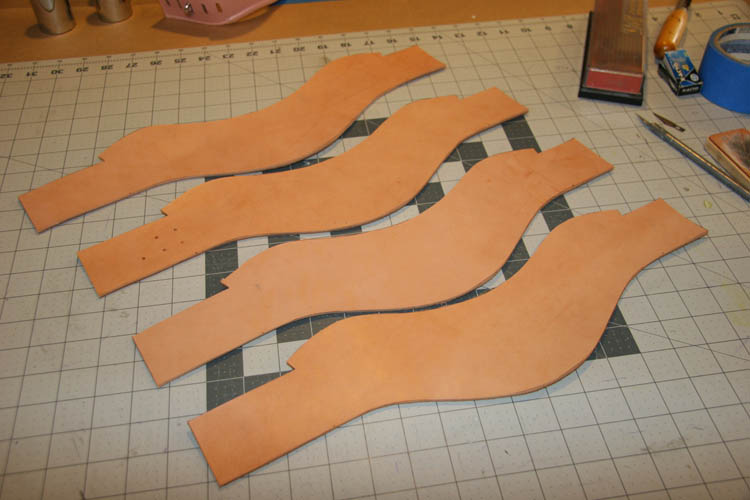
I start off with 6-7oz. vegetable-tanned leather. Measures about 3.1mm thick.
I trace my pattern on the smooth side of the leather.
Rough-cut the pieces with my shoemaker's knife.
At this point I start working the leather over the edge of the workbench to take out the curl.
I do the final cut out using an X-acto knife. Try to keep the knife vertical.
I'll use the diamond sharpener and hone to get the knife razor sharp for these cuts. If you do it right, it'll go through smoothly in one pass.
Blank cutout complete:
Next up, I'll round off the sharp edges with an edge beveler tool.
If your tool is nice and sharp, you'll get smooth, continuous offcuts.
Edge-bevel complete!
My next step in edge-finishing is to use 100 grit sandpaper to round those edges.
Next, I'll use gum tragacanth and a piece of canvas to burnish the edge.
I do have a wood burnishing tool, but to me the canvas is the best way to get the combination of heat and pressure to consolidate the fibers along that cut edge, and get them to lay down. You want the friction to build up, and it turns out nice and smooth.
Now I'm ready for the outer leather. I cut this piece a bit oversize, and will trim it after it's glued to the veg-tan blank.
Both pieces get brushed with contact cement.
Once the glue sets up, these inner and outer layer are stuck together. The excess is trimmed carefully around the edges.
I use my cylinder-bed (which is set up to sew heavy-weight leather) to topstitch the outer and inner layers together.
At this point, I'm ready to edge-coat.
Now we prepare for the rolled edge. I cut 1.75" strips for the bottom and top rolled edge. About 14" for the top, and 12.625" for the bottom.
These all get a bit of glue on their "good" side…
…as do the collars.
The edge-strip gets clipped to the collar, good-side to good-side, and stitched a bit more than 1/8" from the edge.
The bottom strip is clipped and sewn the same way.
Apply glue for the rolled edge to both the backside of the collar…
…and the backside of the edge-strip.
Once the glue sets up, the rolled edge is folded over towards the back (inside) of the collar.
Then back to the cylinder-bed to top stitch along the front side seam - holding the rolled edge in place. (This is the part that your portable sewing machine will probably not be able to handle.)
The excess rolled-edge in the back can now be trimmed off.
Sometimes I'll use tape to help me see the position of the holes that need to be punched. These marks are transferred over from the pattern. But you have to be really careful that the tape won't pull up the finish on your leather. Be sure and test first!
I use an oblong punch for the slots:
I use the same method for marking holes for the staple plate, which are riveted into place:
The front O-ring is secured from the back via screws.
And we're done…
Locking tall posture collar in the color of your choice! Thanks for visiting…